

How to Attach a Metal Hose Connector: A Complete Step-by-Step Guide
Attaching a metal hose connector securely is essential for preventing leaks and ensuring optimal water flow. Whether you’re working on a garden hose, an industrial water line, or a plumbing project, following the right procedure guarantees a durable and watertight connection. Below is a detailed guide to help you install a metal hose connector with precision and confidence.
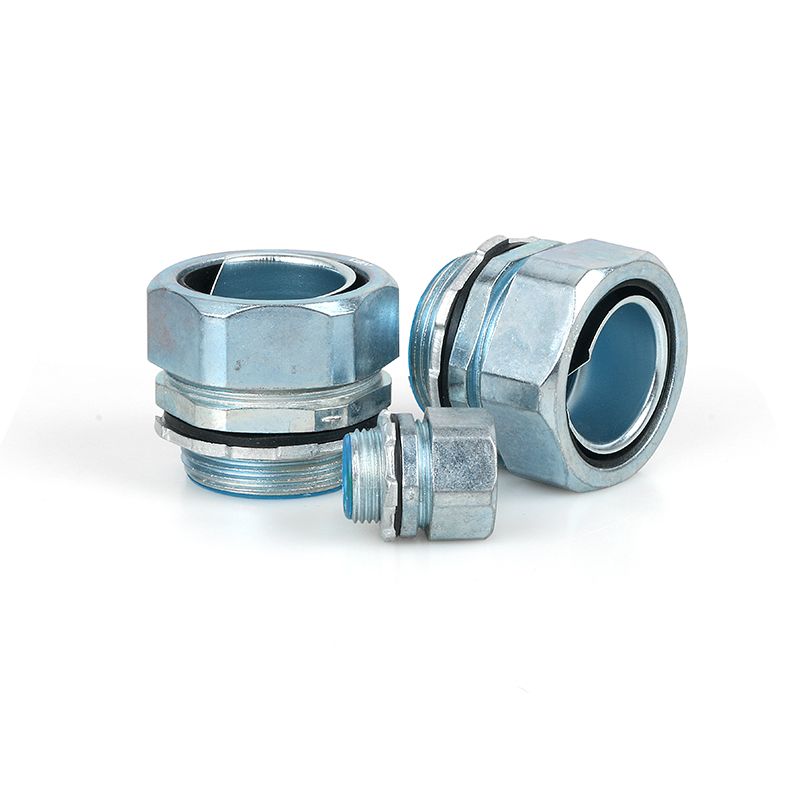
Understanding Metal Hose Connectors
A metal hose connector is a coupling device designed to join hoses to faucets, spigots, or other hose ends. Typically made of brass or stainless steel, these connectors are preferred for their durability, corrosion resistance, and long lifespan. They come in various types, including:
Male connectors: Feature external threading.
Female connectors: Contain internal threading.
Quick-connect fittings: Allow for fast attachment and detachment.
Knowing the type of connector you have is critical before starting the installation.
Tools and Materials Required
Before you begin, gather the following tools and materials to ensure a smooth process:
Adjustable wrench or pliers
Teflon tape (plumber’s tape)
Hose clamps (if needed)
Clean cloth or rag
Metal hose connector of the correct size
Having these ready prevents interruptions and guarantees a seamless installation.
Step 1: Inspect the Hose and Connector
Begin by inspecting the hose and metal connector:
Check for cracks, splits, or debris inside the hose.
Ensure the connector threads are clean and undamaged.
Verify the connector size matches the hose diameter.
A clean, damage-free surface is crucial to achieve a tight, leak-free seal.
Step 2: Cut and Prepare the Hose
If the hose end is worn or frayed, cut it cleanly using a sharp utility knife:
Make a straight cut for a flush edge.
Wipe the hose interior with a dry cloth to remove moisture and dirt.
A clean, square cut provides a better grip and ensures the connector fits securely.
Step 3: Wrap Threads with Teflon Tape
For threaded connectors, apply Teflon tape to the male threads:
Wrap clockwise around the threads 2–3 times.
Press the tape firmly so it adheres evenly.
This step enhances the waterproof seal and reduces the risk of leaks under pressure.
Step 4: Insert and Secure the Connector
Slide the metal connector into the hose or onto the fitting:
For female connectors, push the hose onto the barbed end until it seats firmly.
For male connectors, thread it carefully onto the hose bib or attachment point.
Use an adjustable wrench or pliers to tighten the connection without overtightening, which can strip the threads or damage the connector.
Step 5: Add a Hose Clamp (Optional but Recommended)
To reinforce the seal, attach a hose clamp:
Position the clamp about 1 inch from the hose end.
Tighten it securely using a screwdriver.
This step is especially important when connecting hoses to high-pressure water systems or when the hose is subject to frequent movement.
Step 6: Test for Leaks
Once the connector is installed, test the connection:
Turn on the water supply gradually.
Observe for drips or sprays around the connector.
If leaks appear, tighten the fitting slightly or add another layer of Teflon tape for additional sealing.
Maintenance Tips for Metal Hose Connectors
To extend the life of your metal hose connector:
Regularly inspect for signs of corrosion or wear.
Clean the threads with a soft brush to remove mineral buildup.
Store hoses and connectors in a dry location when not in use.
Proper care ensures a long-lasting, high-performance connection.
Common Mistakes to Avoid
When attaching a metal hose connector, avoid these pitfalls:
Overtightening the connector, which can strip threads or crack fittings.
Skipping the Teflon tape, leading to potential leaks.
Using an incorrect size connector, which compromises the seal.
Being mindful of these points ensures a successful installation every time.
Applications of Metal Hose Connectors
Metal hose connectors are versatile and used in various settings:
Gardening and irrigation systems for robust, weather-resistant connections.
Industrial machinery where high-pressure water or air systems demand durability.
Plumbing repairs and upgrades where a permanent, leak-proof connection is essential.
Their strength and resistance to rust make them ideal for both indoor and outdoor use.
Conclusion
Properly attaching a metal hose connector is a straightforward process when you follow the correct steps: prepare the hose, wrap threads with Teflon tape, secure the connector, and test for leaks. With the right tools and careful technique, you’ll achieve a strong, leak-free connection that stands the test of time.
As reliable conduit fitting manufacturer, we offer a comprehensive range of conduit connectors and fittings designed to meet the diverse needs of various industries. Our products are crafted from high-quality plastic and steel and adhere to international standards, ensuring reliability, safety, and ease of installation. Whether you need standard fittings or custom solutions, YDT has the expertise and capabilities to deliver the right products for your specific applications.
Previous: Evolution of USB Connectors from USB-A to USB-C
Next: None
If you are interested in sending in a Guest Blogger Submission,welcome to write for us!
Comments
0